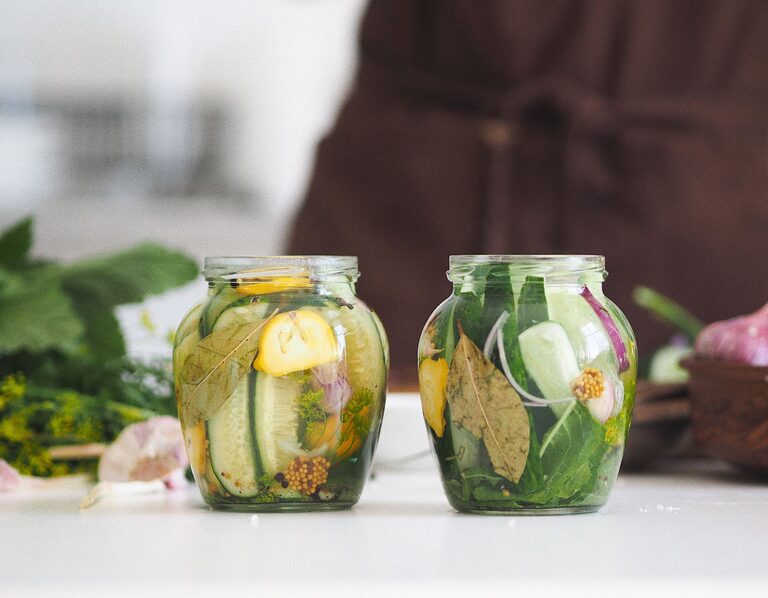
Pickling is a simple way to transform fresh vegetables, fruit, and herbs into something bright, tangy, and full of flavor. You do not need special equipment or advanced cooking skills to get started. With a few clean jars, a basic brine, and fresh ingredients, you can make several small batches in one weekend.
This guide focuses on refrigerator pickles. They are stored in the refrigerator and are ready to enjoy after a short resting period. They are different from shelf-stable canned pickles, which require carefully tested recipes, special processing steps, and proper canning equipment.
Why Try Pickling?
Pickling is a rewarding weekend hobby because it combines cooking, creativity, and a little experimentation. It can also help you use seasonal produce before it loses its freshness.
Here are a few reasons to try it:
– It requires only a handful of basic ingredients.
– Most recipes can be prepared in under an hour.
– You can make small batches instead of filling an entire pantry.
– Pickled vegetables add crunch and flavor to everyday meals.
– Brines and seasonings can be adjusted to suit your taste.
The easiest place to begin is with refrigerator pickles. These are placed in the refrigerator immediately after preparation and should be enjoyed within a reasonable period according to the recipe you follow.
Basic Pickling Equipment
You do not need a large collection of kitchen tools. Gather the following:
– Clean glass jars with lids
– A cutting board and sharp knife
– Measuring cups and spoons
– A small saucepan
– Tongs or a clean utensil
– A funnel, if you have one
– Labels and a marker
Use jars that are free from cracks or chips. Wash the jars, lids, and utensils with hot, soapy water, then rinse them well. Clean equipment helps keep the finished pickles fresh and pleasant.
A Simple Refrigerator Pickle Brine
A basic refrigerator brine usually includes vinegar, water, salt, and sometimes sugar. Use vinegar with a clearly stated acidity of 5 percent, such as standard white vinegar or apple cider vinegar. Do not dilute the vinegar beyond the proportions in a reliable recipe.
A useful starting formula is:
– 1 cup vinegar
– 1 cup water
– 1 tablespoon salt
– 1 to 2 tablespoons sugar, optional
Place the ingredients in a saucepan and warm them until the salt and sugar dissolve. The brine does not need to boil. Pour it over prepared vegetables, leaving a little space at the top of the jar. Let the jar cool briefly, cover it, and place it in the refrigerator.
For the best results, use a recipe from a trusted food preservation source and follow its ingredient amounts. Small changes can affect flavor, texture, and storage quality.
Project One: Classic Pickled Cucumbers
Cucumbers are one of the most beginner-friendly ingredients to pickle. Choose firm cucumbers and rinse them thoroughly. Small pickling cucumbers work well, but regular cucumbers can also be cut into spears or thin slices.
Ingredients
– 4 to 6 small cucumbers
– 1 cup vinegar
– 1 cup water
– 1 tablespoon salt
– 1 teaspoon sugar, optional
– 1 garlic clove, sliced
– 1 teaspoon dill seed or a few sprigs of fresh dill
– A pinch of black peppercorns
Slice the cucumbers into rounds or spears and pack them into a clean jar. Add the garlic, dill, and peppercorns. Prepare the brine, pour it over the cucumbers, and refrigerate.
The cucumbers may taste lightly pickled after a few hours, but the flavor usually improves after one or two days. Serve them with sandwiches, grilled foods, salads, or a simple snack plate.
Project Two: Quick Pickled Red Onions
Pickled red onions are colorful, crisp, and especially easy to make. They add a sweet and tangy contrast to tacos, grain bowls, burgers, sandwiches, and roasted vegetables.
Thinly slice one medium red onion and place the slices in a jar. For a balanced brine, combine:
– 1 cup vinegar
– 1 cup water
– 1 tablespoon salt
– 1 tablespoon sugar
Warm the brine until the salt and sugar dissolve, then pour it over the onion slices. Press the onions down gently so they are covered by the liquid. Refrigerate until cool.
These onions often develop a pleasant pink color as they rest. Add a few peppercorns, a bay leaf, or a pinch of crushed red pepper if you would like more character.
Project Three: Pickled Carrots and Radishes
Carrots and radishes stay pleasantly crisp and bring different textures to a jar. Cut carrots into thin sticks and slice radishes into rounds or half-moons. You can pickle them separately or combine them for a colorful mix.
Add a small amount of ginger, garlic, or coriander seed to the jar. A little goes a long way, so start with modest amounts. Pour in the warm brine, cool the jar, and refrigerate.
These vegetables are excellent in salads, noodle bowls, wraps, and lunch boxes. They can also be served as a bright side dish with roasted chicken or baked tofu.
Project Four: Pickled Fruit
Fruit can make an exciting introduction to sweet-and-tangy pickling. Firm fruit works best because it holds its shape. Try slices of apples, pears, grapes, or fresh pineapple.
For fruit, use a brine with a little more sugar and gentle spices, such as:
– Cinnamon stick
– Whole cloves
– Star anise
– Fresh ginger
– Orange peel
Avoid overloading the jar with spices. The goal is to complement the fruit rather than cover its natural flavor. Pickled fruit can be served with cheese, added to salads, or spooned over yogurt and oatmeal.
Flavor Ideas to Try
Once you understand the basic method, create small batches with different combinations. Consider these pairings:
– Cucumber, dill, and garlic
– Carrot, ginger, and coriander
– Red onion, peppercorn, and bay leaf
– Green beans, mustard seed, and dill
– Apple, cinnamon, and orange peel
– Cauliflower, turmeric, and black pepper
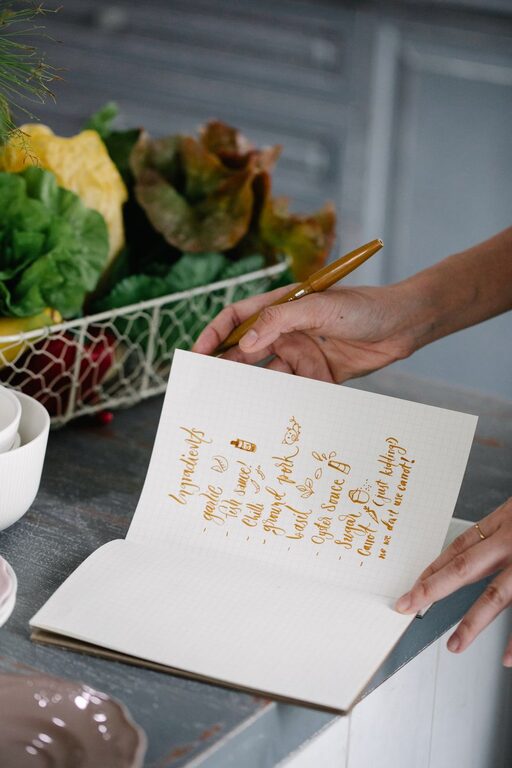
Keep notes as you work. Write down the vegetables, brine, spices, preparation date, and your opinion of the finished batch. This simple habit makes it easier to repeat your favorites.
Tips for Crisp, Flavorful Pickles
For better results, keep these suggestions in mind:
– Start with fresh, firm produce.
– Cut pieces to a similar size so they pickle evenly.
– Leave enough room for the brine to cover the ingredients.
– Do not use metal containers for storing acidic pickles.
– Let the flavors develop before making a final judgment.
– Use clean utensils each time you remove pickles from the jar.
– Label each jar with the name and date.
If a batch develops an unusual odor, mold, bubbling, or an unexpected appearance, discard it rather than tasting it. Refrigerator pickles should remain refrigerated, and they should not be treated as shelf-stable foods.
Plan a Pickling Weekend
A simple weekend plan can include three small projects: classic cucumbers, red onions, and carrots with radishes. Prepare the vegetables first, then make one brine at a time. Label the jars and place them in the refrigerator.
By the end of the weekend, you will have a variety of toppings and snacks ready to add flavor to everyday meals. More importantly, you will have a flexible hobby that encourages curiosity. Try new vegetables, compare spice combinations, and adjust future batches based on what you enjoy most.
About the Author